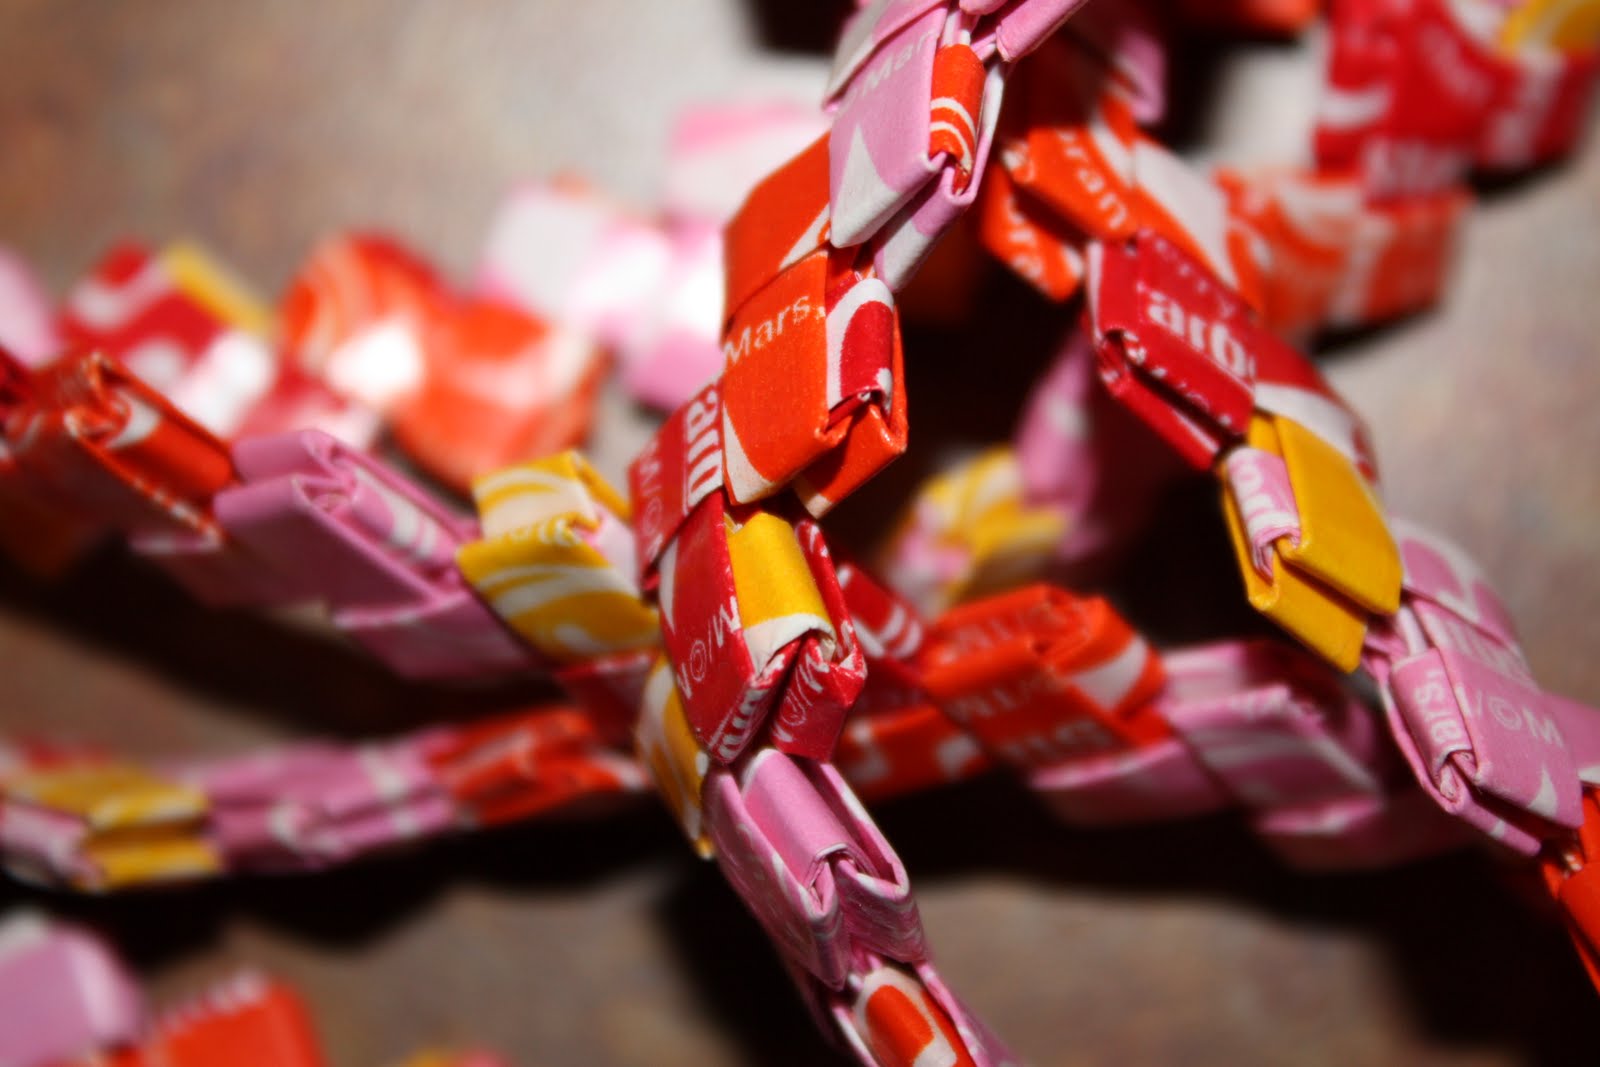
I have various sized jars filled with Starburst wrappers. Some still have candy in them. Others just flat. Others folded into tiny "V" shapes. Jars with Original flavored wrappers and every other flavor that makes it's way to me. See, a long time ago, back in 2008 or 2007, I decided I wanted to learn how to make those Starburst paper chains that people make. (I remember a friend in junior high school who would fold them in class in between taking his notes.) So I learned how. And I started making a chain with the original flavor wrappers. I have a pattern of three pink (strawberry), two orange (orange), two red (cherry), one yellow (lemon), repeat. The chain is over six feet long. It's fun to make. With these new colors I am just going to chain them together however they want. I won't have a pattern. I plan on just pulling one out and adding it on. It's going to be really colorful and fun. I think I will not put two of the same colors next to each other but that's my only rule for this second chain.

I thought I would share how to fold a link piece and how to connect them into chains. Complete with photos. I photographed every step so hopefully it all makes sense. If any of the steps don't quite make sense leave me a comment and I'll see if I can explain it better. (Click on any photo to enlarge it.)
PS. If you ever eat a Starburst and the wrapper is in good condition you are so welcome to mail them to me. Especially the original pink (strawberry) wrappers. I seem to run out of those quicker then the others. :)
PPS. This a really long post because it has lots of pictures. I hope you enjoy as much as I did while I was making it. :P
...

Key Tips For Folding
- Flatten wrappers before you fold. No turned in corners or rips.
- Always fold straight and to the edges of the wrapper.
- Crease well.
- The "V" links work best when there are crisp clean creases.
- Flatten. ... Yes, this is the first step. To get a clean "V" a nice start is key. No folded corners. No tears. No puckers.
- Fold long way in half. Match edges and crease.
- Unfold.
- Fold into center line. Crease.
- Fold the same on other side. ... or more simply, fold outer edges into center. Leave in center. Make sure you have nice crease and the edges match up.
- Fold long way put the center line creased again. (It's really hard putting into words without physically showing you. Try it. Maybe this will make more sense as you are folding the "V".)
- Fold, long way, in half. Crease. It should be a skinny piece.
- Fold in half to form a "V" shape. Match ends well. Crease well.
- Fold into that center. ... Hold the "V" fold (the left in the photo) and fold both ends, one at a time, into the center. Crease well.
- The end result.
- Repeat to make lots of them.


...
Key Tips For Connecting
- There is a clean side and a dirty side to every "V". If you learn the difference it will help when connecting them together. Linking through the clean sides, the links won't snag on each other as it goes through the loops.
- Clean sides are clean looking. They have one edge to them.
- Dirty sides have many edges when you look at them.


How To Connect The Links
- For the sake of ease, on you and me, I will be numbering the links. To help explain what is going on.
- From left to right: One, Two Three, Four, and so on. Purple, lemon yellow, hot pink, green, orange, burgundy, yellow, pink.

- To Start ...
- Take two "V"s ... One and Two.
- Hold the One link by the "V" point ... clean side up.
- Take Two in other hand.
- Insert Two going in the clean side of One.
- ... Note: Two should rest at One's "V" point. ...
- They should form a larger "V" with One's clean side out and Two's clean side in.


- For the rest of the links.
- Insert Three into the clean side of Two. With Three's clean side going down.
- ... Note: Three and One's clean side should facing the same way. ...
- Repeat previous step (Three into Two) until a long chain is formed.


- Remember: continue connecting links through the clean side. When linking through the clean side you will not have problems getting link B through link A. If you try and go through the dirty side you might snag in the folds.
...
And I'll end this post by updating you with pictures of the Starburst chain that started it all. I measured it too. It is 86.5 inches long (7 feet 2.5 inches). You can see more photos on my Flickr account.


No comments:
Post a Comment