More To Look At

Friday, July 29, 2011

Recycled Gallon Jug Containers

I found this idea on Disney's Family Fun craft site (here) and I thought it would be fun to make. Reading through their instructions I get kind of lost because they don't have enough info and picture. (One thing I don't like about that site.) So I searched the internet to see if someone had made these and had more tips. And I found some good tips here. (Like the thing about the seams. Genius! It made it all make sense.) I used dry erase marker to draw the lines on the jug but they sort of stay on. But I am pretty sure they'll come off with hot water. :)

Do you want to know how I made mine? Complete with pictures. This will help me when I do another one too. I'll have all the tips and stuff right here with photos. Then I'll remember what works best.


...

Supplies
  • A one-gallon plastic milk/water container
    • Rinsed and dry.
    • Peel off the sticker if you so desire. Wash sticker residue off.
  • Velcro self-adhesive dots
  • Sharp scissors - sharp scissors are key
  • Thumbtack
  • Utility knife (optional)
  • Ruler (optional)
  • Dry erase marker (optional)


Let's get started ...
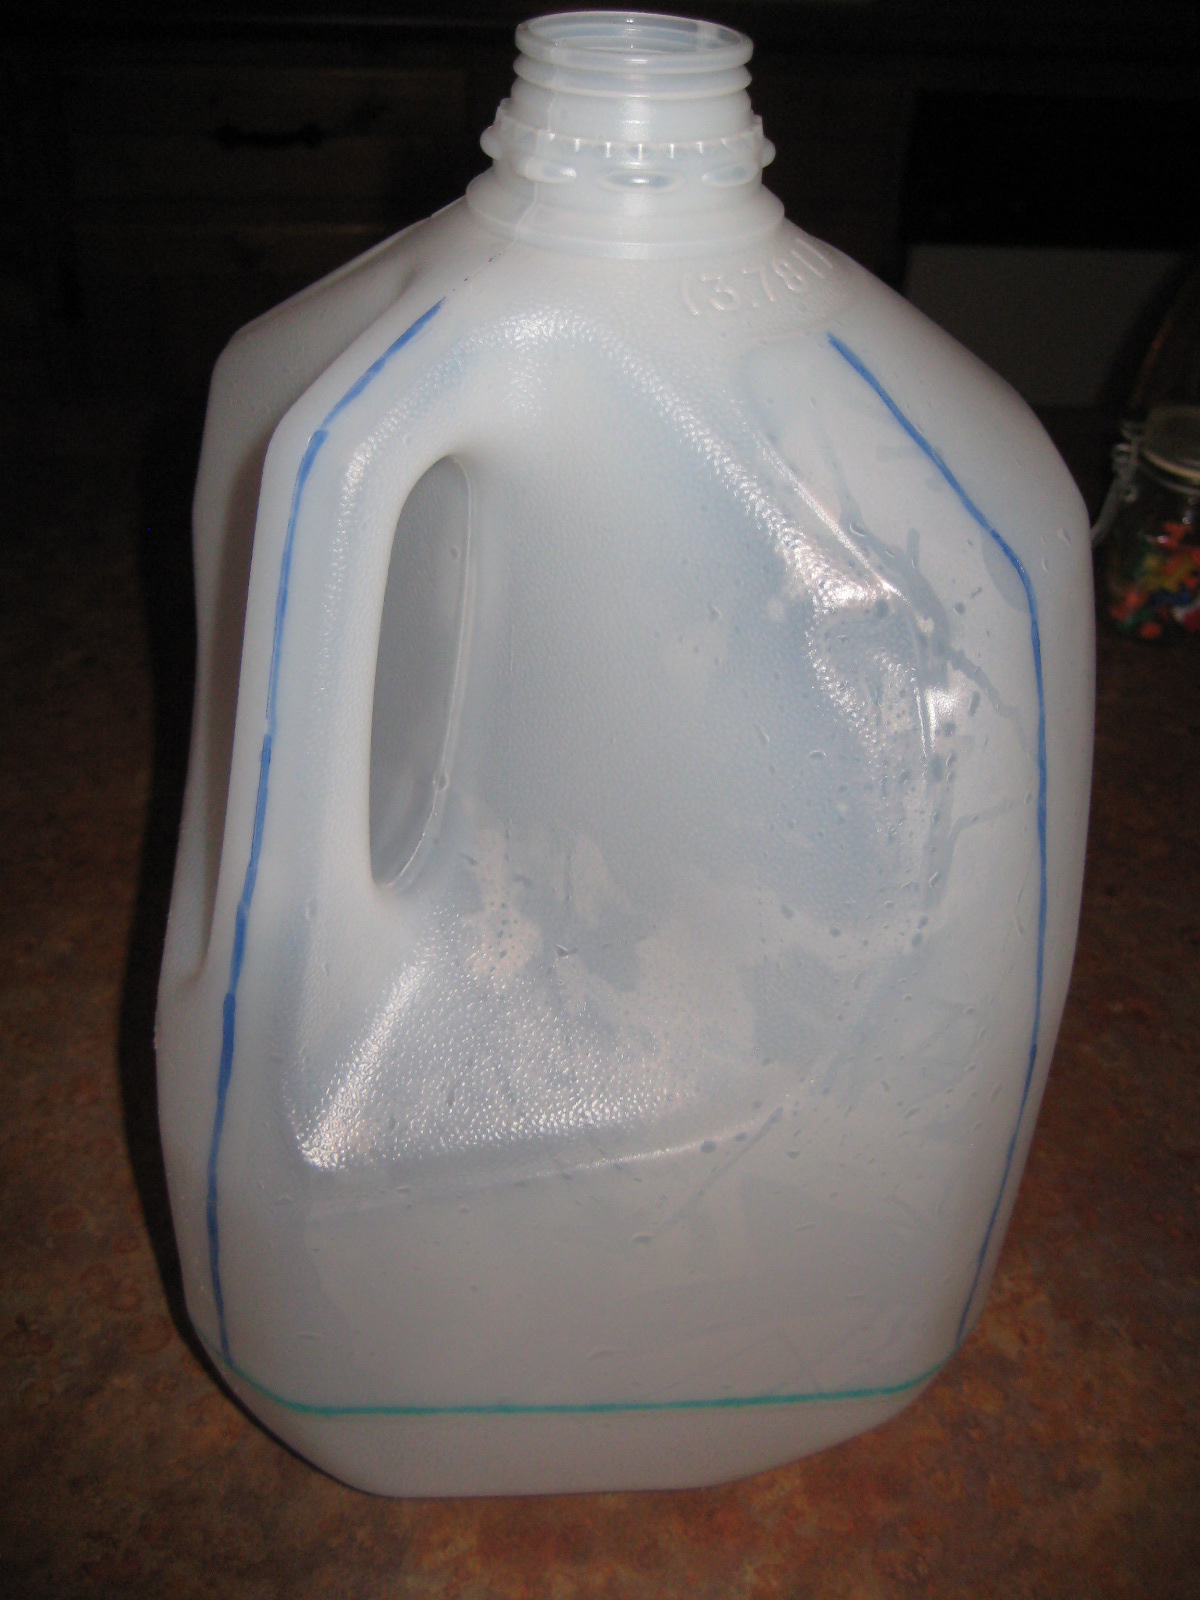
  1. Locate the seams of the plastic jug. ... There are small seams down all four corners and about 1 1/2 inches from the bottom of the jug. (In the photo the seams are marked blue for the vertical corner seams and green for the bottom horizontal seam.)


  2. Using the thumbtack, pierce holes, approximately every 1/4 inch, on the bottom (green) seam. The thumbtack holes will create fold lines for the container.


  3. Draw cut lines on three short sides of the jug. ... These cut lines will begin at one corner and make an arc to the next corner, extending about 2 inches above the thumbtack lines.


  4. The fourth side will be the cover of the sandwich container. Draw this cut line all the way to the top curve of the milk jug, arc like the other three sides.


  5. Note: the cut lines form a small upside-down “Y” (or a triangle) right at the thumbtack line. This will ensure the plastic folds into a box.


  6. Start cutting the plastic milk jug with the large scissors. (You may also use a utility knife for the longer cuts. Be careful! It's not the most steady idea.)


  7. Make sure you use sharp scissors when approaching the bottom of the jug. ... Use the tip of the sharp scissors to form the upside down “Y” and nip off the sharp triangle that is formed.


  8. Use the sharp scissors to trim any jagged straight lines.
  9. The jug now has three short sides and one long side.
  10. Fold the sides back and forth along that dotted line until they fold nice and flat. (I folded them all in and creased. Then folded them back out and creased. And one more in the center and creased.)


  11. Fold the long side over the box.
  12. Use Velcro dots to create a reusable closure where the long side folds over.


  13. There you have a recycled container.

  • Some ideas for uses I had:
    • Use for lunch. It's hand washable and great for a sandwich and some chips or snacks.
    • Put one in your glove box to keep pens, pencils, a small notepad, some change, gum, etc. (I might just do this.)
    • They would be perfect for snacks when travelling. (ie. dry cereal, goldfish, teddy grahams, etc)
    • Use them in suitcases to keep small items such as jewelry, phone cords, small trinkets, etc.

  • The same instructions/idea can be used for half-gallon jugs for smaller and/or taller snack containers.

Thursday, July 28, 2011

Spelling M-I-C-E

I had so much fun doing the Starburst tutorial it got me thinking of others I could do. I could teach you how I fold my paper cranes. Or how I fold a box. Or both. But I'll be doing more tutorials as I think of them or do projects because it was fun.

Lately, I have been spelling because with the a and u switched and it's annoying. It happens all the time. Thank goodness the red squiggly line let's me know it's wrong. lol.

I fed Satine tonight. Ammon and I went to the Dollar Store and Target to look at some things and we were bored. While I was out I decided my baby needs some mice. So our last stop was Petco. I got two mice and Ammon was kind enough to chip in a couple of bucks so I could get two. :) Then we came back home and fed her. She always seems to be so happy after I feed her. Maybe it's all in my head. lol. But Satine does act happy. I know her personality and it's a cute one. :)

Wednesday, July 27, 2011

Time and Starbursts

Today was the first time in a week that I have been walking in the mornings. Lauren went on vacation and I didn't walk while she was gone. It'll be nice to be able to going walking in the mornings again. I like walking and talking with her. And it also forces me out of bed earlier. :)

After I looked and applied for lots of jobs, I finished putting together the Starburst tutorial. It was fun. One of the small chains at the end of the post I put in my time capsule jar. It's a fun little reminder of something I did this year.

Have I told you about my time capsule jar? I don't think anyone knows about it. lol. It's a small-ish jar that I put small trinkets in throughout the year. I found the idea about two or three months ago and thought it was a fun idea. Right now I don't have much in it. And I have a feeling there won't be much in them but ticket stubs. lol. Apparently, I go and see lots of movies throughout any given year. I haven't taken a self-portrait yet but that is going to be there too. I want to write the year all fancy and cool on my small whiteboard and have that in the photo. (I saw this today and it reminded me I still need a self-portrait photo. Because that's sort of what I had in mind. Only I'm 22 years older then that little guy so I won't look as adorable if I decide to gnaw on the board. lol. The whole post that the photo is from is adorable. Note: time capsule idea not from here.)

Starburst Chain Links

I have various sized jars filled with Starburst wrappers. Some still have candy in them. Others just flat. Others folded into tiny "V" shapes. Jars with Original flavored wrappers and every other flavor that makes it's way to me. See, a long time ago, back in 2008 or 2007, I decided I wanted to learn how to make those Starburst paper chains that people make. (I remember a friend in junior high school who would fold them in class in between taking his notes.) So I learned how. And I started making a chain with the original flavor wrappers. I have a pattern of three pink (strawberry), two orange (orange), two red (cherry), one yellow (lemon), repeat. The chain is over six feet long. It's fun to make. With these new colors I am just going to chain them together however they want. I won't have a pattern. I plan on just pulling one out and adding it on. It's going to be really colorful and fun. I think I will not put two of the same colors next to each other but that's my only rule for this second chain.


I thought I would share how to fold a link piece and how to connect them into chains. Complete with photos. I photographed every step so hopefully it all makes sense. If any of the steps don't quite make sense leave me a comment and I'll see if I can explain it better. (Click on any photo to enlarge it.)

PS. If you ever eat a Starburst and the wrapper is in good condition you are so welcome to mail them to me. Especially the original pink (strawberry) wrappers. I seem to run out of those quicker then the others. :)

PPS. This a really long post because it has lots of pictures. I hope you enjoy as much as I did while I was making it. :P

...


Key Tips For Folding
  • Flatten wrappers before you fold. No turned in corners or rips.
  • Always fold straight and to the edges of the wrapper.
  • Crease well.
    • The "V" links work best when there are crisp clean creases.

How To Fold a Starburst Wrapper
  1. Flatten. ... Yes, this is the first step. To get a clean "V" a nice start is key. No folded corners. No tears. No puckers.


  2. Fold long way in half. Match edges and crease.


  3. Unfold.

  4. Fold into center line. Crease.


  5. Fold the same on other side. ... or more simply, fold outer edges into center. Leave in center. Make sure you have nice crease and the edges match up.


  6. Fold long way put the center line creased again. (It's really hard putting into words without physically showing you. Try it. Maybe this will make more sense as you are folding the "V".)


  7. Fold, long way, in half. Crease. It should be a skinny piece.


  8. Fold in half to form a "V" shape. Match ends well. Crease well.


  9. Fold into that center. ... Hold the "V" fold (the left in the photo) and fold both ends, one at a time, into the center. Crease well.


  10. The end result.


  11. Repeat to make lots of them.


...

Key Tips For Connecting
  • There is a clean side and a dirty side to every "V". If you learn the difference it will help when connecting them together. Linking through the clean sides, the links won't snag on each other as it goes through the loops.
  • Clean sides are clean looking. They have one edge to them.


  • Dirty sides have many edges when you look at them.


How To Connect The Links
  • For the sake of ease, on you and me, I will be numbering the links. To help explain what is going on.
  • From left to right: One, Two Three, Four, and so on. Purple, lemon yellow, hot pink, green, orange, burgundy, yellow, pink.


  • To Start ...
  1. Take two "V"s ... One and Two.


  2. Hold the One link by the "V" point ... clean side up.


  3. Take Two in other hand.


  4. Insert Two going in the clean side of One.


  5. ... Note: Two should rest at One's "V" point. ...


  6. They should form a larger "V" with One's clean side out and Two's clean side in.


  • For the rest of the links.
  1. Insert Three into the clean side of Two. With Three's clean side going down.


  2. ... Note: Three and One's clean side should facing the same way. ...


  3. Repeat previous step (Three into Two) until a long chain is formed.


  • Remember: continue connecting links through the clean side. When linking through the clean side you will not have problems getting link B through link A. If you try and go through the dirty side you might snag in the folds.

...

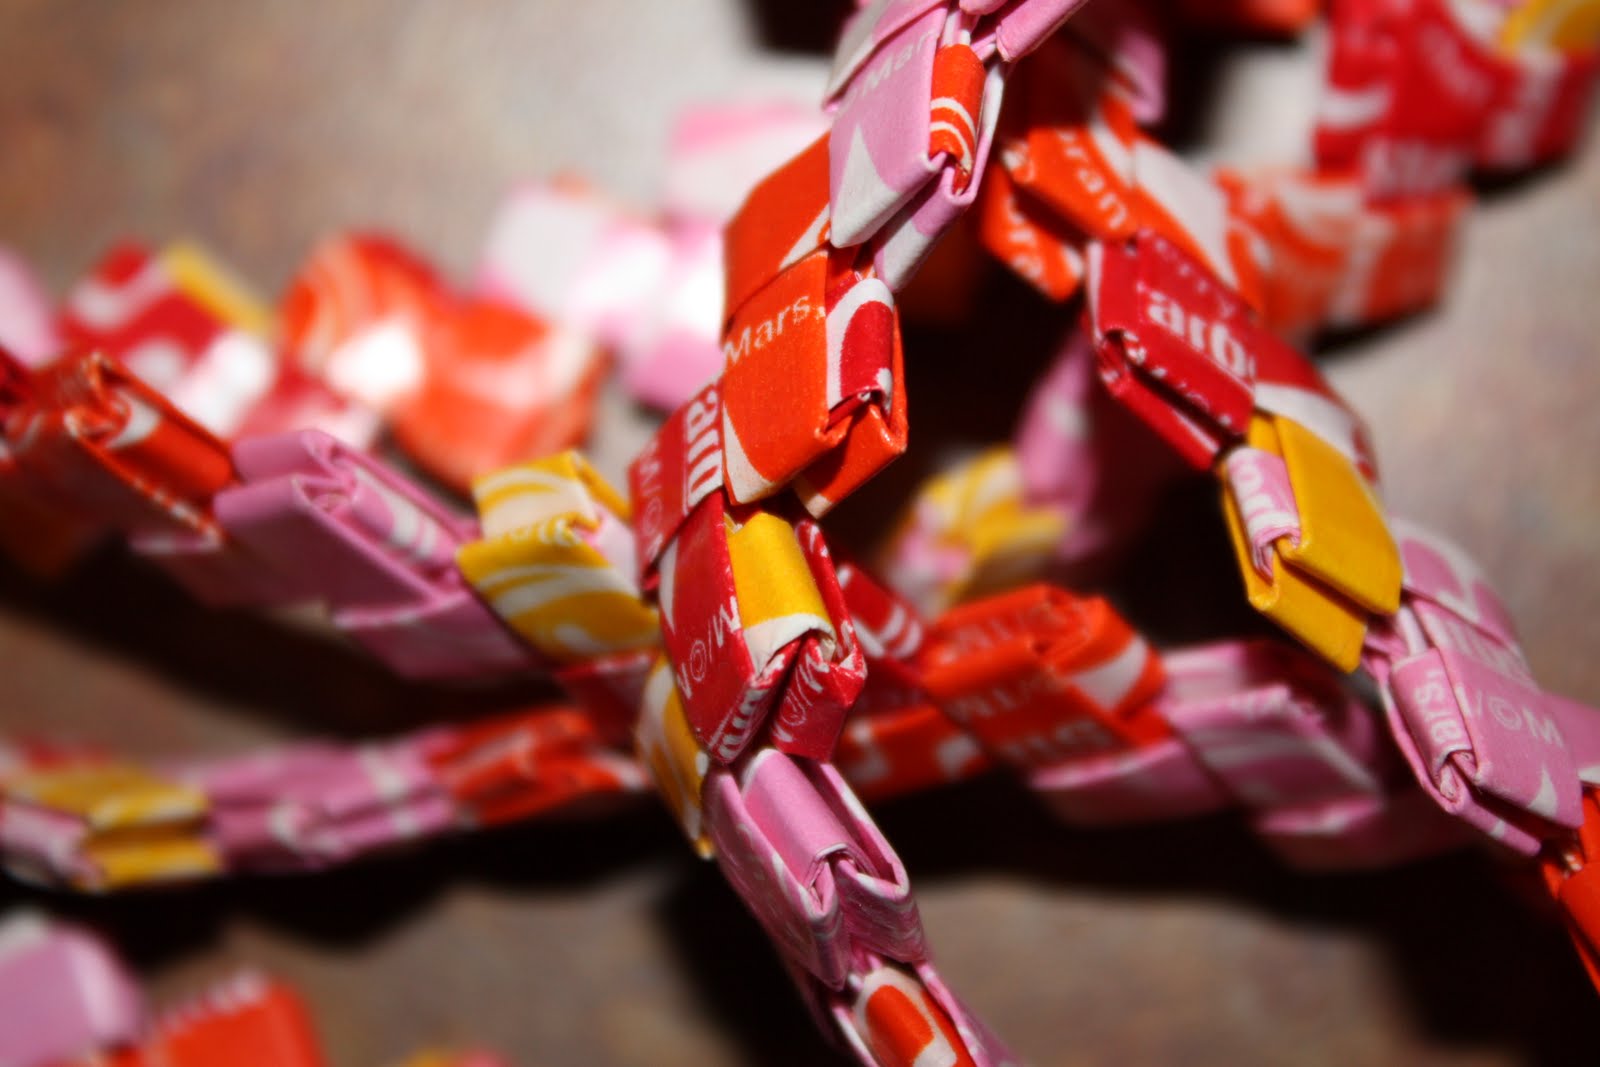
And I'll end this post by updating you with pictures of the Starburst chain that started it all. I measured it too. It is 86.5 inches long (7 feet 2.5 inches). You can see more photos on my Flickr account.